
Vinyl siding is an excellent option to enhance your home’s look and durability. This guide will provide easy-to-follow steps to help you install vinyl siding on your home for a professional-looking finish.
To know more about siding tampa
Why Vinyl Siding is a Popular Choice
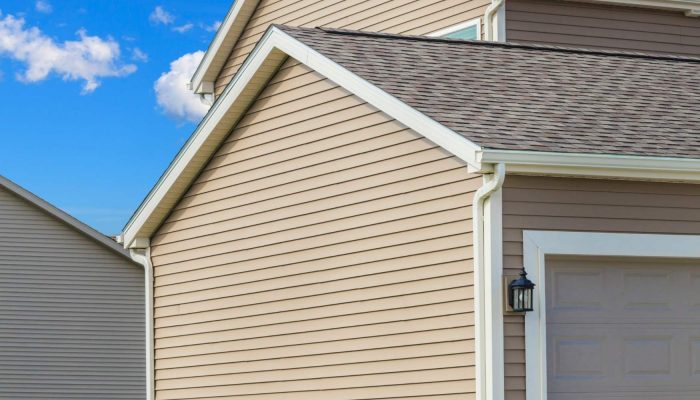
When choosing a material to cover your home’s exterior, there are many options, but vinyl siding stands out for several reasons. Made from strong PVC material, vinyl siding is resistant to rot, decay, and other types of damage.
Best Time to Install Vinyl Siding
While it’s best to install vinyl siding in mild weather, sometimes repairs can’t wait. Installing siding in very hot or cold weather requires some adjustments because vinyl expands in heat and contracts in cold.
How to Estimate the Vinyl Siding You’ll Need
Before starting, measure the length and height of each wall in inches. Multiply these numbers, divide by 144 to get the square footage, and subtract the areas of windows and doors. Add 10-20% extra for waste or mistakes.
Prepare Your Home for Vinyl Siding Installation
Set Up Your Work Area: Before you start, clear the area where you’ll be working. This makes it easier to move around and handle materials.
Tools and Materials: Gather the necessary tools, such as a saw with a vinyl blade, a measuring tape, a level, a ladder, pliers, and a pry bar.
Repairing Damage: If your home’s current exterior is wood, inspect it carefully. Fix any soft or damaged spots and deal with any moisture problems.
Covering Old Siding: If your existing siding is in good condition, you can install the vinyl over it. However, it’s best to first put up rigid foam insulation.
Installing Vinyl Siding Step-by-Step
Prepare the Wall: Ensure that the wall surface is smooth and flat. If the home is new, apply a water-resistant barrier like house wrap.
Install the Starter Strip: Begin by installing a starter strip at the bottom of the wall, ensuring it’s level. Always start the installation at the side of the house farthest from the street to hide the seams better.
Attach the Vinyl Siding: Use corrosion-resistant nails or screws to attach the siding. Start from the centre of each panel and work outward, making sure each panel locks securely into the one below it.
Cutting the Vinyl: You can cut the vinyl using a circular saw, tin snips, or a utility knife. For smoother cuts, use a fine-toothed blade.
Adding Flashing: Install flashing around windows, doors, and corners to prevent water from seeping behind the siding. Start with the bottom of the window, then work your way to the sides and top.
Allow space for expansion: Vinyl siding shifts with temperature changes. When installing around windows or fixtures, leave at least ¼ inch of space for movement.
Check for Smooth Installation: Periodically check that the panels are level as you install them. This will help ensure a clean, even look across the entire wall.
By following these steps, you’ll be able to install vinyl siding on your home for a professional and long-lasting finish.