
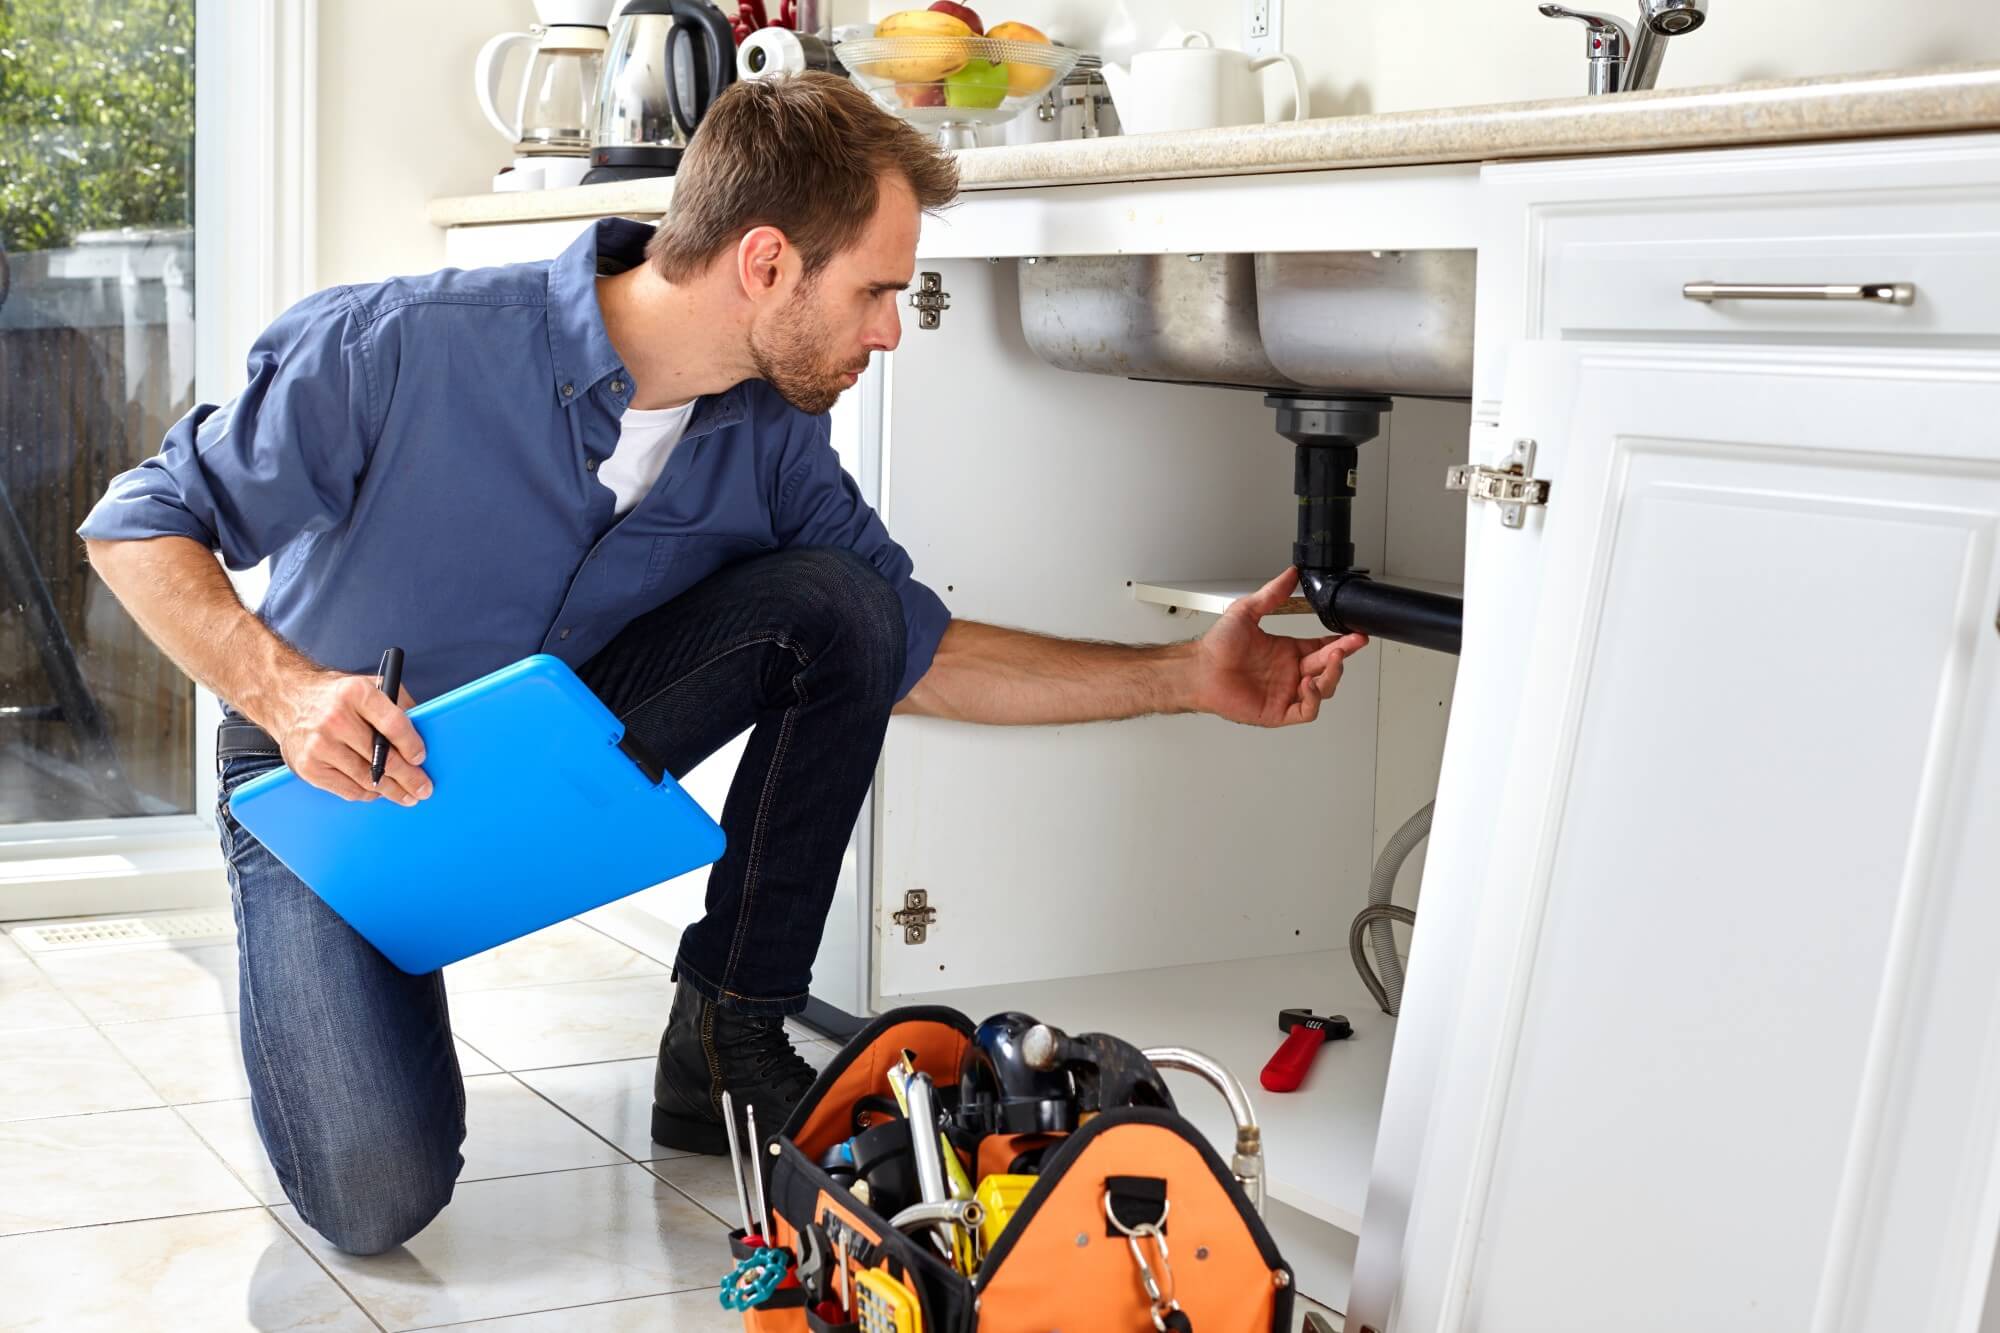
Draining a water heater can be a tricky process, and it can come with a few potential issues. If you don’t take the right precautions, you could end up with a flooded basement or a damaged appliance. To make sure that you avoid any problems when draining a water heater, it’s important to be aware of the steps you need to take. Here’s how you can do it the right way.
- Turn off the power and the water supply:
The first step is to turn off the power and the water supply to the water heater. This will prevent any power surges or water leaks while you’re draining the tank. Make sure to shut off both the hot and cold water supply lines and the power supply how to drain a water heater Connect a garden hose to the drain valve located near the bottom of the water heater tank.
- Attach the drain hose:
Next, you’ll need to attach a drain hose to the water heater. Make sure to place the hose in an area where the water can easily drain away, such as a nearby floor drain or a sump pump. Once the hose is attached, you’ll need to turn off the water supply to the water heater. This is usually done by turning off the shutoff valve located near the water heater. Once all the water has been drained from the tank, you can close the drain valve and turn the water supply back on. Now your water heater is ready to be used again.
- Open the drain valve:
Once the hose is secured, you can open the drain valve and allow the water to start draining out. Make sure to open the valve slowly so that the tank does not flood. Once the tank has been completely drained, close the drain valve and remove the hose from the tank. Be sure to store the hose in a safe place for future use.
- Flush the tank:
Once the tank is almost empty, you can flush it out with a garden hose to get rid of any sediment or debris. Make sure to flush the tank until the water runs clear. If you need to replace the tank, you should drain it completely, then disconnect the inlet and outlet fittings and remove the tank from the location. Dispose of the tank according to local regulations. Once the tank has been removed, you can install a new tank in its place.
- Refill the tank:
Once the tank is flushed and drained, you can refill it with new water. This will ensure that the tank is functioning properly and that it won’t cause any problems in the future.
- Turn the power and water back on:
Finally, you can turn the power and the water supply back on. This will allow the water heater to start working again. Make sure to check for any leaks or other issues before you turn the power and water back on.
Conclusion:
By following the steps outlined above, you can ensure that you avoid any potential issues and keep your water heater working properly. With a little bit of care and attention, draining a water heater can be a painless process.