How to Fix a Leaking Shower Without Removing Tiles
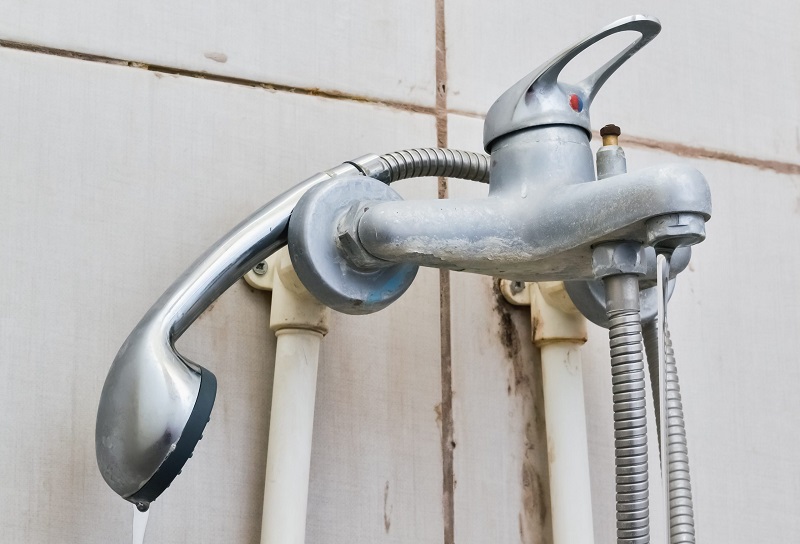
A leaking shower is a common household problem that can lead to more significant issues if not addressed promptly. Water leaks can cause structural damage, promote the growth of mould and mildew, and increase your water bills. However, fixing a leaking shower doesn’t always mean you have to remove the tiles. With the right tools and techniques, you can repair the leak without causing unnecessary damage to your bathroom tiling. In this blog post, we will guide you through the process of leaking shower repairs without removing tiles.
Identifying the Source of the Leak
The first step in fixing a leaking shower is identifying where the leak originates. The source could be from faulty plumbing behind the wall or from deteriorated tile grout or sealant around your shower fixtures. If you’re unsure about finding the source of your leak, consider consulting with professionals like GIB Tiling Perth who specialize in bathroom tiling and repairs.
If water is seeping out from under your tiles, it’s likely due to worn-out tile grout or sealant. Over time, grout can crack and crumble away, creating gaps where water can seep through. Similarly, sealant around fixtures like taps and showerheads can deteriorate over time.
Fixing Leaks Caused by Deteriorated Tile Grout
If your tile grout is causing your shower to leak, here’s how you can fix it:
- Clean: Start by cleaning the area thoroughly with a grout cleaner or a mixture of vinegar and baking soda. This will remove any dirt or mould that may interfere with new grout adhering properly.
- Remove Old Grout: Use a grout removal tool or utility knife to carefully scrape out as much of the old grout as possible without damaging your tiles.
- Apply New Grout: Mix up some new tile grout according to the manufacturer’s instructions. Apply it to the gaps using a grout float, making sure to press it firmly into the spaces between the tiles.
- Clean Up: Wipe away any excess grout with a damp sponge, being careful not to remove any grout from the gaps between tiles.
- Seal: Once your new grout has dried completely (usually 24-48 hours), apply a grout sealer to protect it from moisture and prevent future leaks.
Fixing Leaks Caused by Deteriorated Sealant
If your shower is leaking due to worn-out sealant around fixtures, here’s how you can fix it:
- Remove Old Sealant: Use a utility knife or scraper tool to carefully remove as much of the old sealant as possible without damaging your fixtures or tiles.
- Clean: Clean the area thoroughly with rubbing alcohol or a similar cleaning agent to ensure that new sealant will adhere properly.
- Apply New Sealant: Apply a bead of waterproof silicone sealant around your fixture, smoothing it out with a wet finger or caulking tool for an even finish.
- Dry: Allow the new sealant to dry completely according to the manufacturer’s instructions before using your shower again.
Conclusion
Fixing a leaking shower without removing tiles can be a straightforward DIY task if you have identified that deteriorated tile grout or sealant is causing the leak. However, if you’re dealing with more complex plumbing issues behind your bathroom tiling, it may be best to call in professionals like GIB Tiling Perth who have expertise in handling such shower repairs.
Remember, regular maintenance and inspection of your bathroom fixtures and tiling can help prevent leaks from occurring in the first place. By promptly addressing any signs of deterioration in your tile grout or sealants, you can keep your shower functioning optimally and maintain the integrity of your bathroom tiling for years to come.


